
Vendor management is an important aspect that needs to be effectively handled for proper purchasing and financial operations within a business. A properly maintained vendor setup is necessary for efficient purchasing, proper communication, and error-free transactions.
Odoo helps in vendor management, where users can add vendors, manage different addresses for vendors, and import data in bulk. This blog will discuss how all this is integrated for efficient vendor management and saving time.
Vendor Creation
To create a vendor, navigate to Purchase App → Orders → Vendors. Click on the Vendors menu, and then click the Create button to open the vendor form.
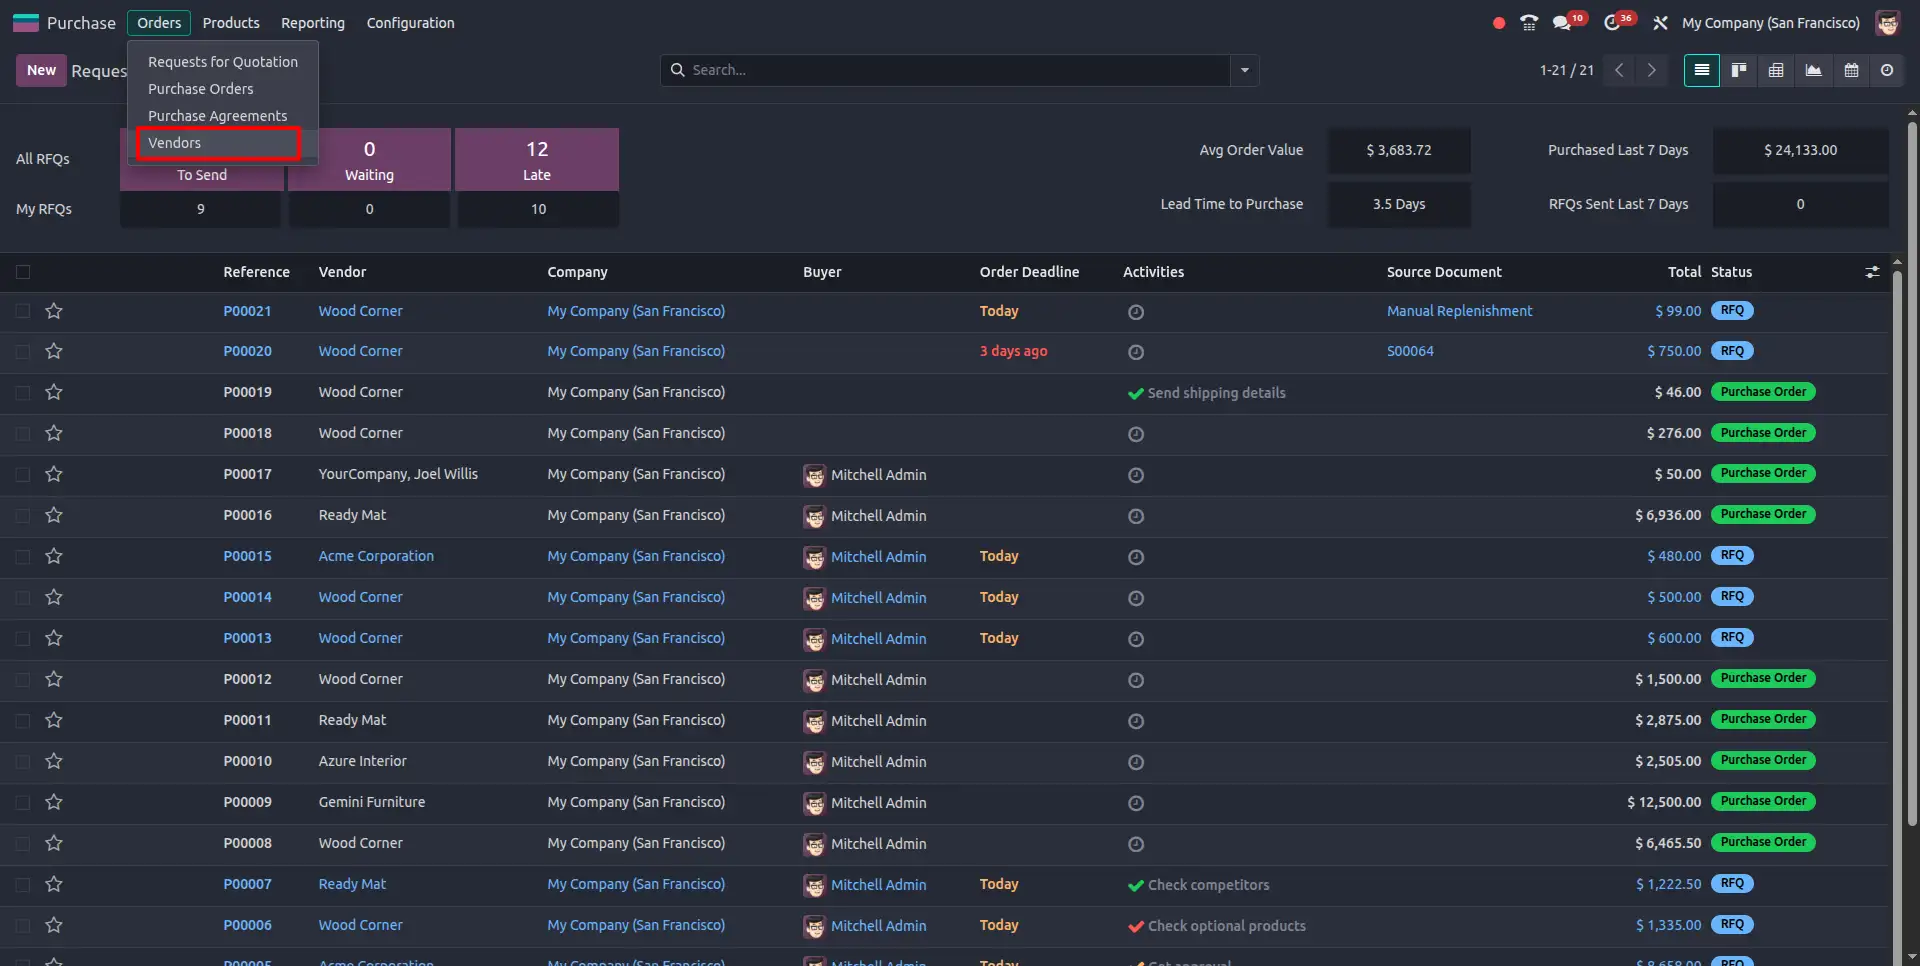
The menu displays a list of all vendors present in the system.
The menu is helpful in managing all the vendors at a single place.
From this menu, it is possible to add new vendors using the **New** button.
It is also helpful in modifying the contact information of vendors, as well as their addresses.
The menu is also helpful in accessing vendor information for purchase and bill-related activities.
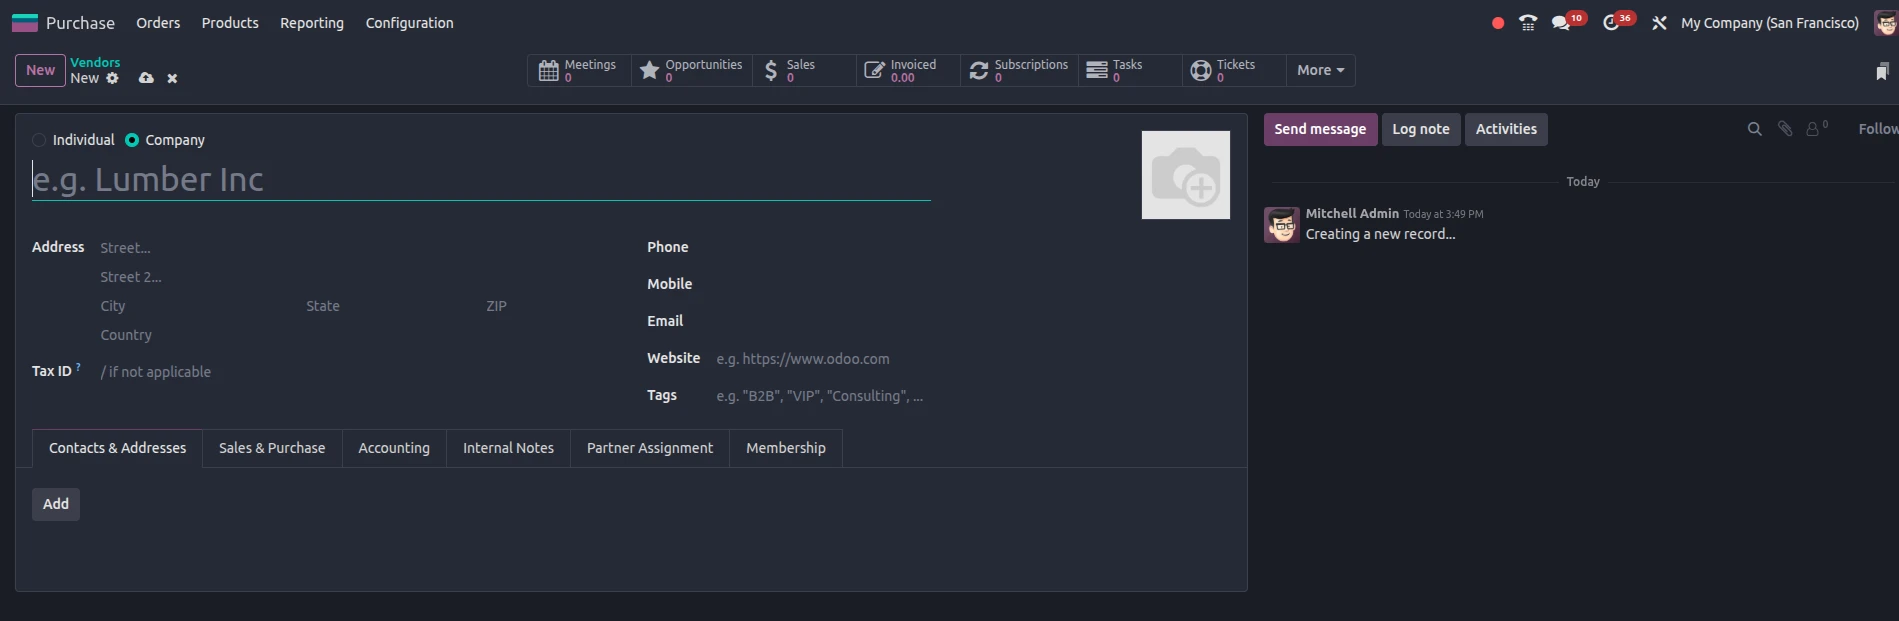
This screen shows the form for creating a vendor in the Odoo software, where you can enter all the details of the vendor that are necessary for the business. Additionally, you can enter whether the vendor is an individual or a company and enter the basic details of the vendor, such as the vendor's name, address, phone, and email, along with other details such as tax details, the vendor's website, and tags for organizing vendors.
Moreover, different tabs are also included in this form, which are used for managing the details of the vendor, such as contacts and addresses, sales and purchases, and accounts, where you can manage the details according to your needs in the same form.
You can also add different contact persons and addresses for the vendor in the same form.
This form can be used for managing the details of the vendors in the most organized way, making the details easily accessible for future use.
Managing Vendors & Multiple Addresses
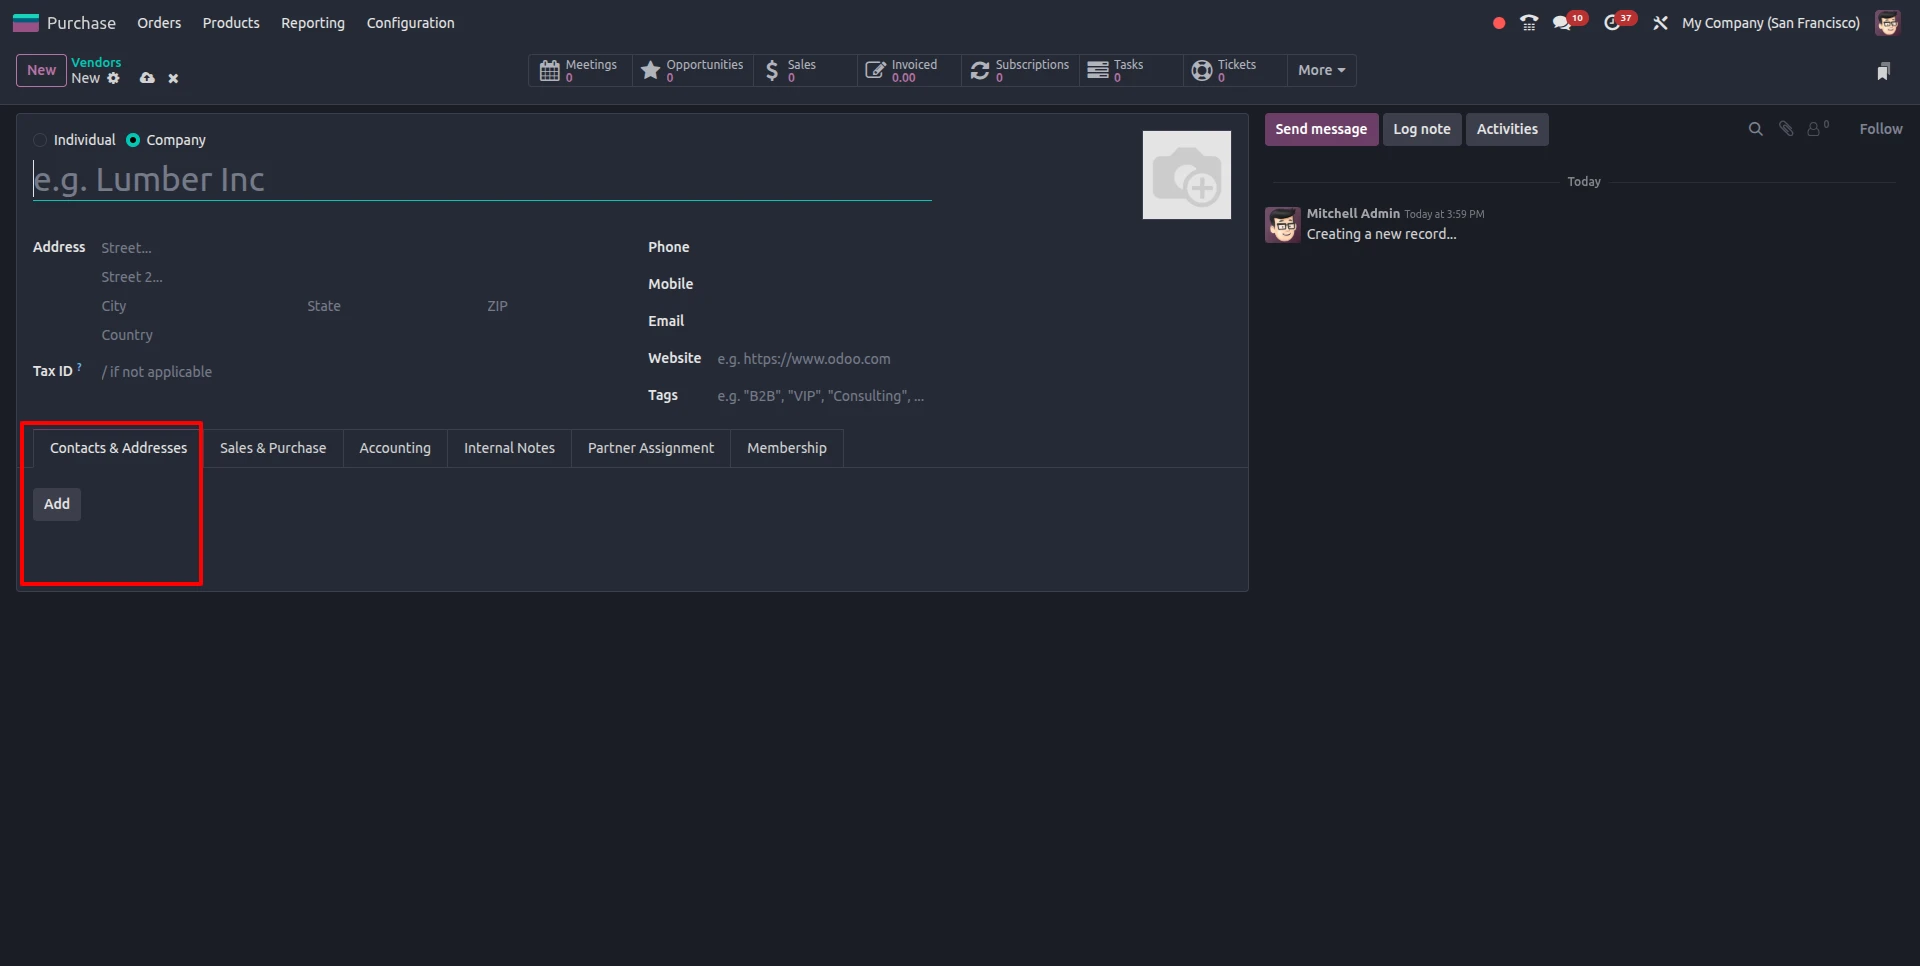
This section will discuss how you can use Odoo for managing vendor information along with different addresses for a vendor in a single record. In the Contacts & Addresses tab, you can add different types of addresses, for example, billing, delivery, etc.
With different addresses for a vendor in a single record, Odoo ensures that the appropriate address is used in the purchase orders, vendor bills, etc.
Sales & Purchase Configuration
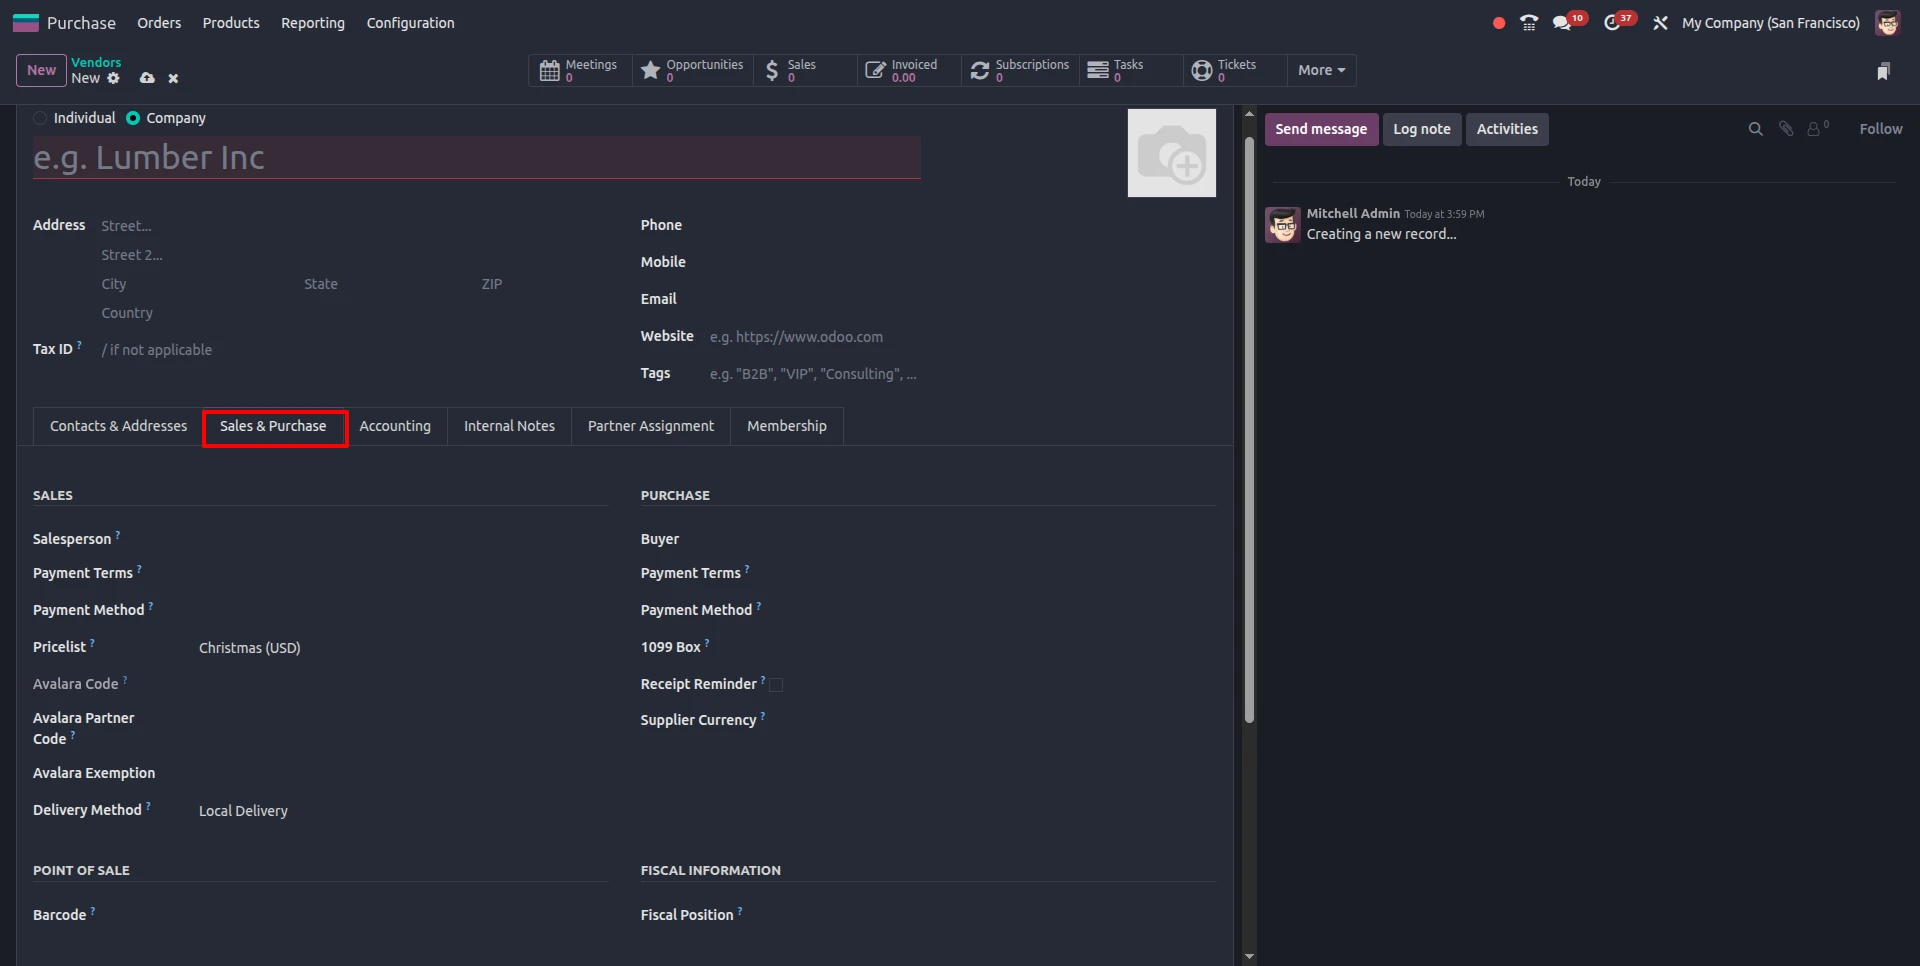
This section is a replica of the Sales & Purchase tab in the vendor form, where you can configure the key transactions related to the vendor. The key transactions may include payment terms, payment methods, priclists, and sales persons or buyers, which are responsible for defining the transactions.
By configuring these values, you are actually using the Odoo platform to automatically configure these values in purchase orders, vendor bills, and sales documents. You may also configure delivery methods, supplier currency, reminders, etc., for smooth business operations.
This section is actually helpful in standardizing the transactions with the vendor, making the transactions accurate, and saving time during day-to-day business operations.
Accounting Configuration
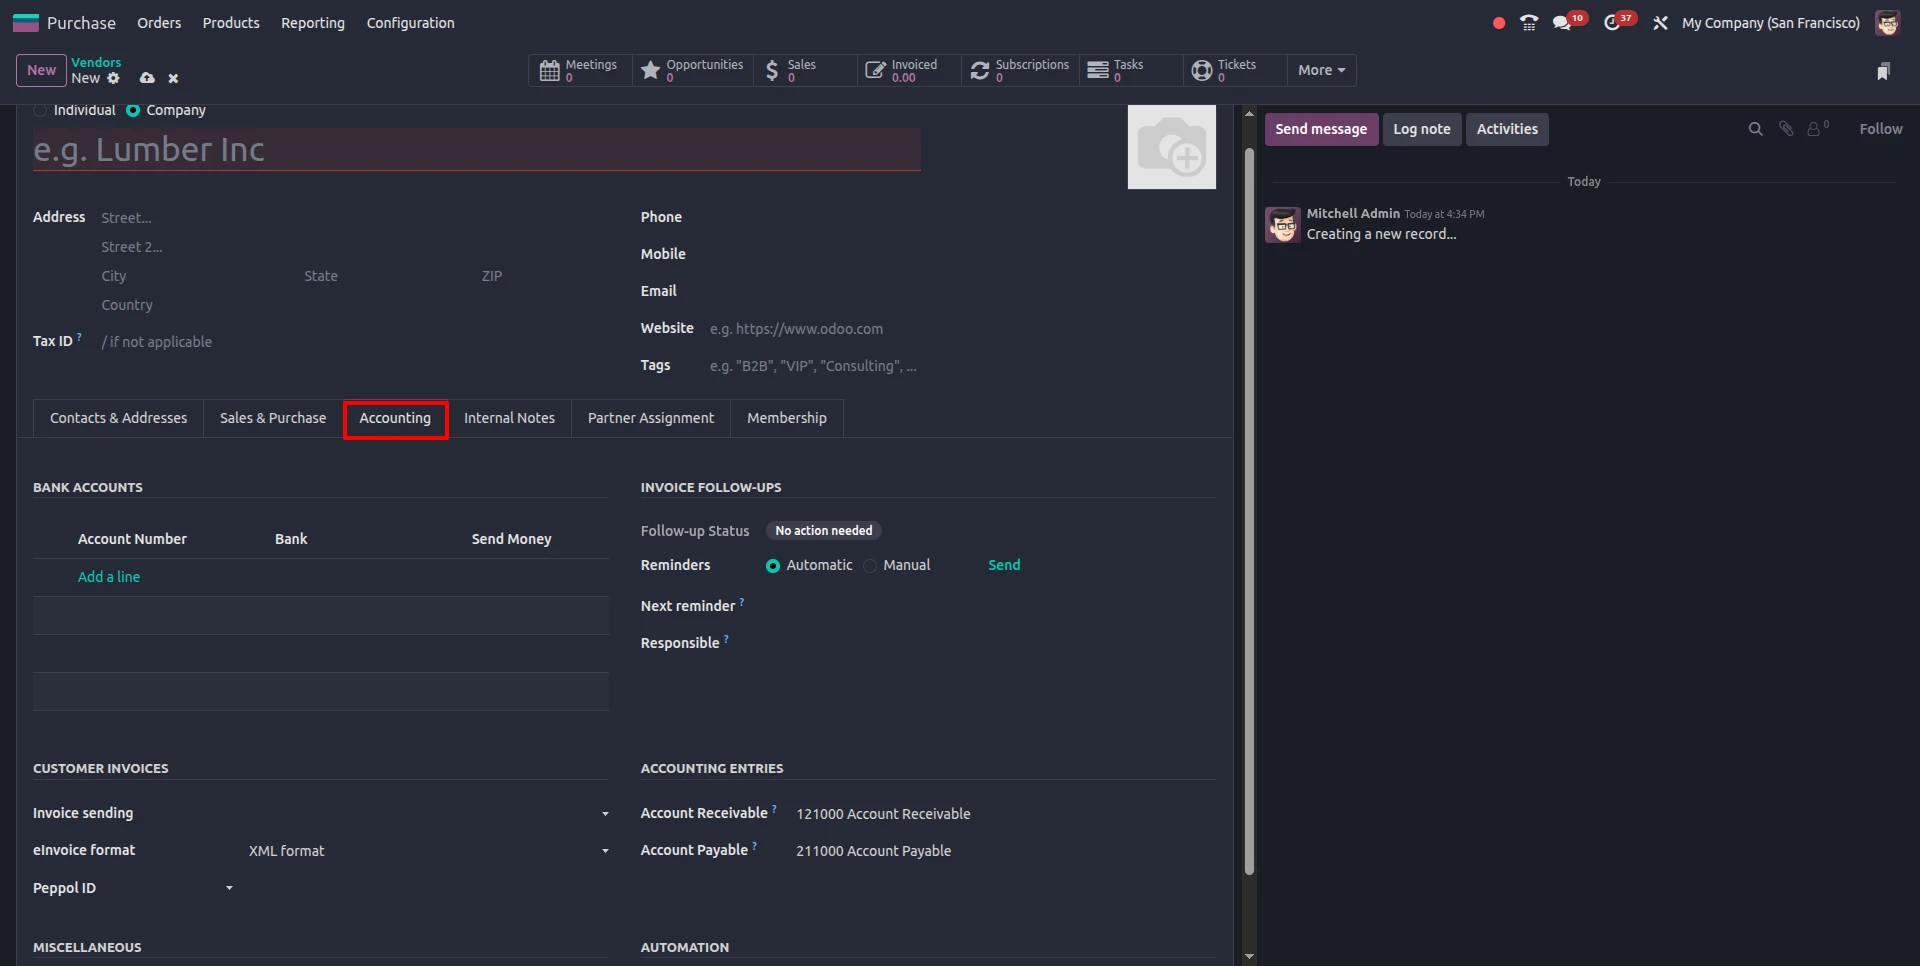
This section represents the Accounting tab of the vendor form, where you can manage all the information regarding the vendor’s financial aspects. In this tab, you can manage the vendor’s bank accounts, payable/receivable accounts, and follow-up on invoices, among other information. You can manage the payment process, accounts to be used, and even the sending of invoices to the vendors. It also allows you to manage the format of the invoices that are to be sent to the vendors, among other information. By setting up the information in this section, Odoo ensures that the payment process is smooth, as well as the tracking of the vendor’s accounting information.
Internal Notes
The Internal Notes tab is used to store information related to the vendor. You can store any information or notes related to the vendor. This is helpful while maintaining information related to a specific vendor.
Partner Assignment
The Partner Assignment tab is used to assign a person or a sales person to the vendor. This is helpful while maintaining relationships with vendors.
Membership
The Membership tab is used when the membership feature is enabled. The feature is helpful while maintaining information related to the membership of a vendor or a contact.
Importing Vendors
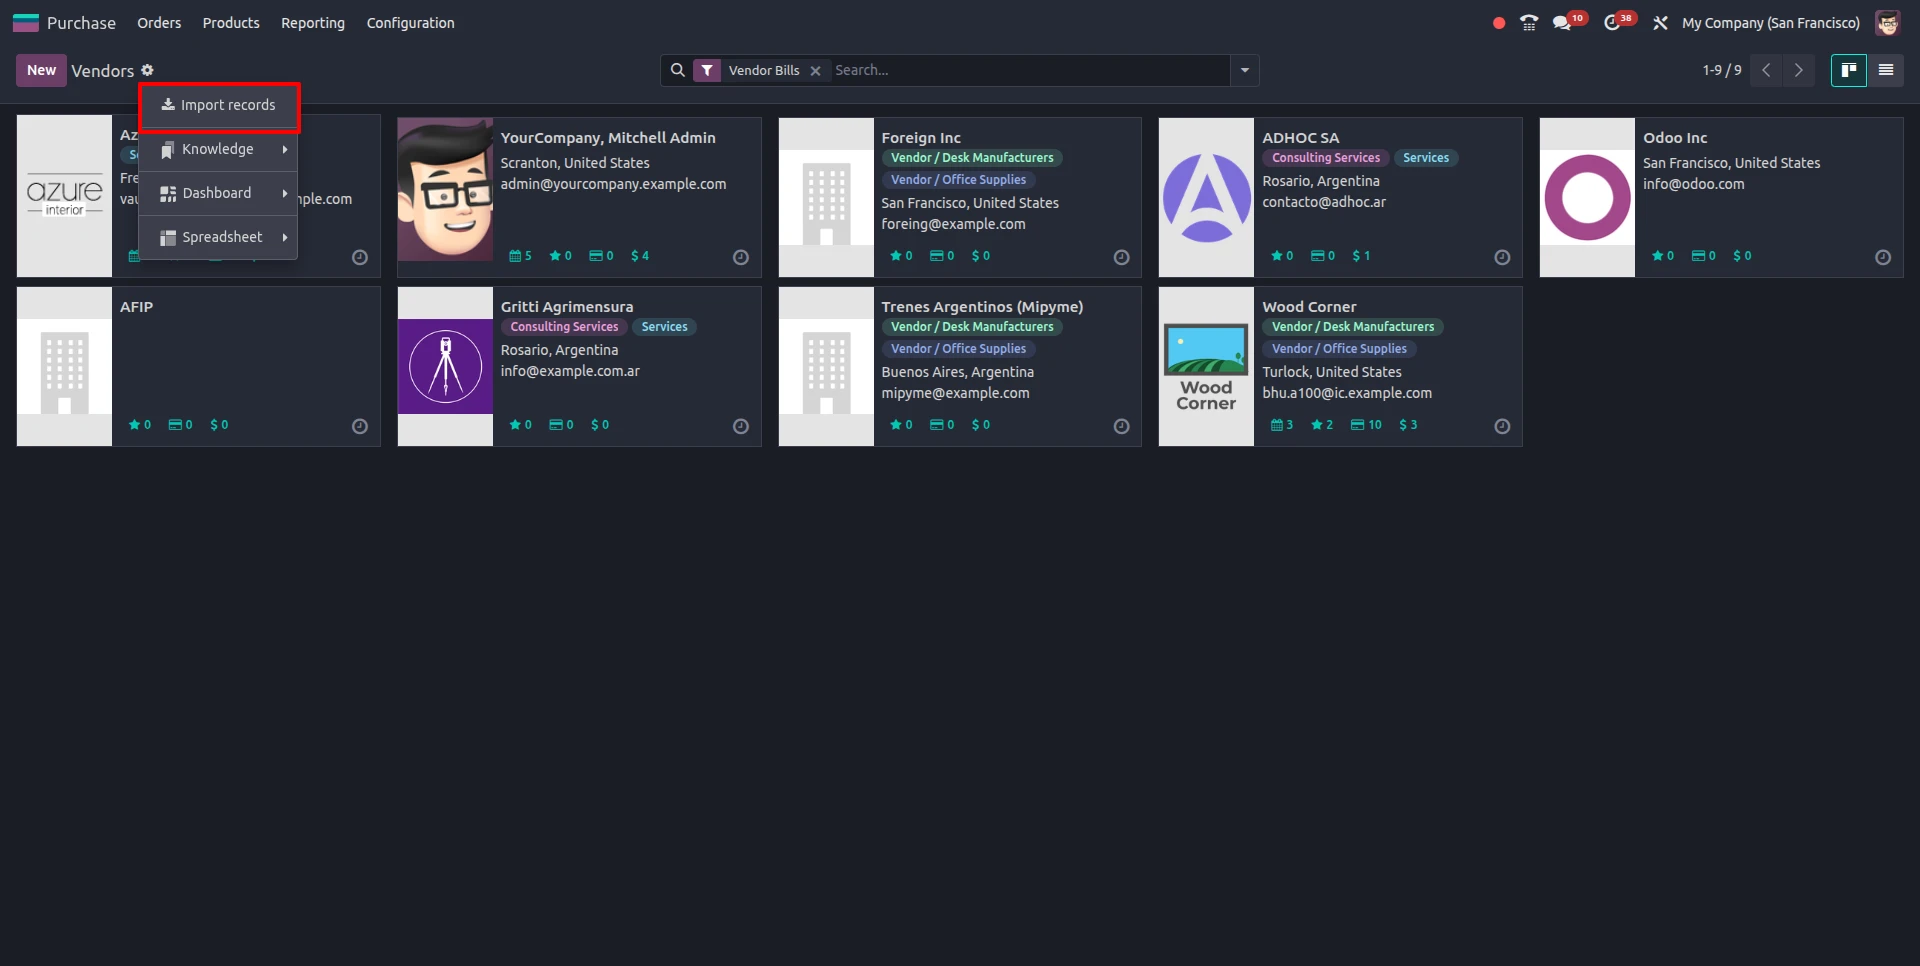
This screen shows the vendor list view in the Odoo application, where all the existing vendors are shown in a card format. This screen can be used for the management of the existing vendor records. Also, the information can be filtered according to the needs of the business. The highlighted option "Import Records" can be used for the import of the vendor information.
Using the import option, the information can be imported from a CSV or Excel file. The required information should be prepared in a structured format according to the required fields. The required fields for the import can be the name of the vendor, company name, contact information, address, and tax information. Once the information is prepared according to the required format, the import option can be used to import the information.
This option can be effectively used for businesses where the information needs to be imported from another system. Also, this option can be effectively used for businesses where the number of vendor records is high. This option can be effectively used for the import of the information without making any errors. This option can be effectively used for the import of the information for the entire vendor records.


.jpg )


Leave a comment